Prior to getting started with Google or SEO, it’s important to know the Google My Business ranking factors. Knowing which factors influence rankings will help ensure that the listing is properly created and optimized.
Google My Business (now referred to as Google Business Profile) plays a key role in Local SEO and your online visibility. This is because nearly 90 percent of local searches result in a call or visit within 24 hours, and localized searches that include “near me” have grown by over 900% (ex: “dentists near me”).
For product and service-related searches, Google will usually provide localized results via search queries.
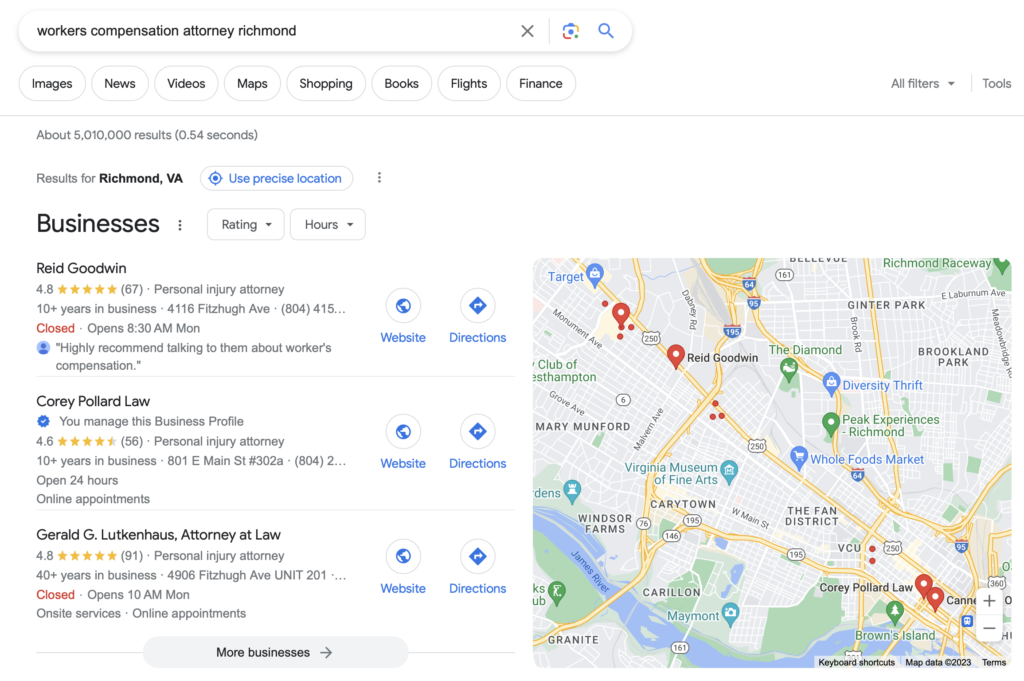
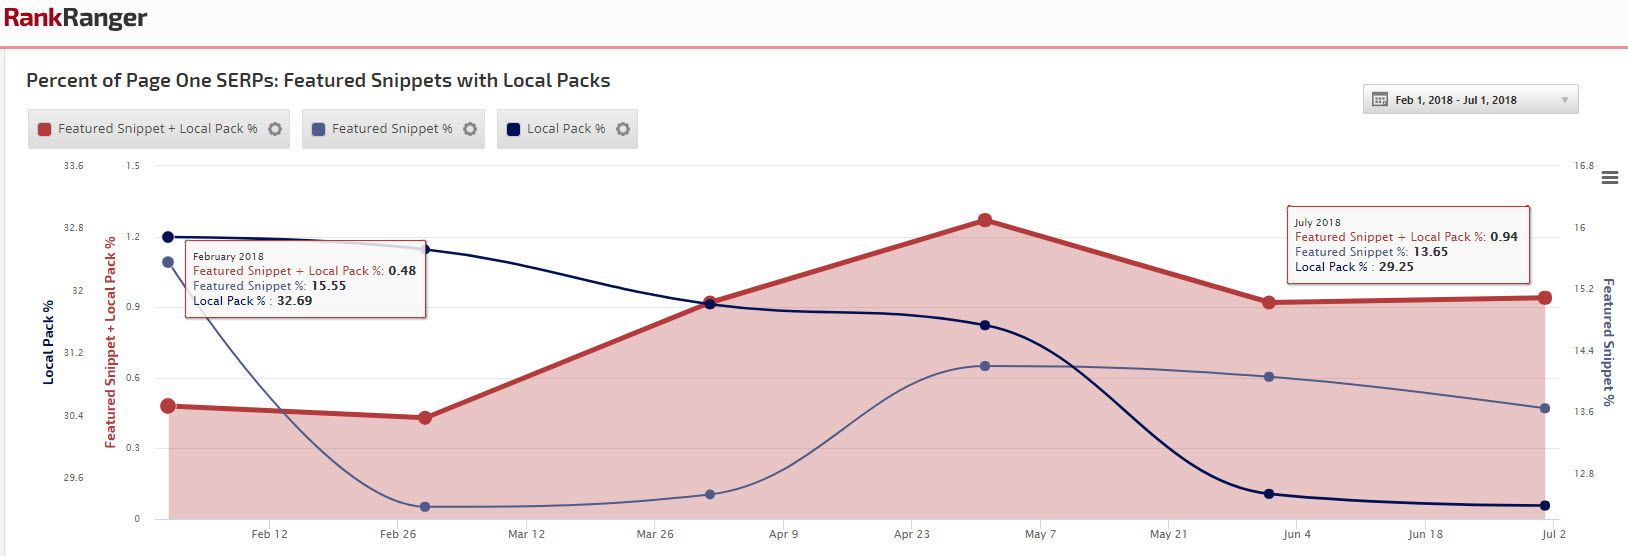
This result is also known as Local Pack, and appears in nearly 30% of all Page 1 results.
If you want your business featured here, it will require you to have a Google My Business Listing.
Follow these steps to create and set up your Google My Business listing:
- Create a Google Account or Sign In to a Google Account
- Sign In to your Google Business
- Enter the Name of your Business
- Choose your Primary Business Category
- Add your Business Address
- Add your Website and Phone Number
- Add your Service Areas (Only for Businesses That Offer Services)
- Add your Business Hours
- Allow Customers to Message You
- Add your Business Description
- Verify your Google Business Listing
1. Create a Google Account or Sign In to a Google Account
To manage or create a Google My Business Listing, you’ll need to login to a Google Account. This is just an email.
If you don’t have one, just create a Gmail account – it’s free.
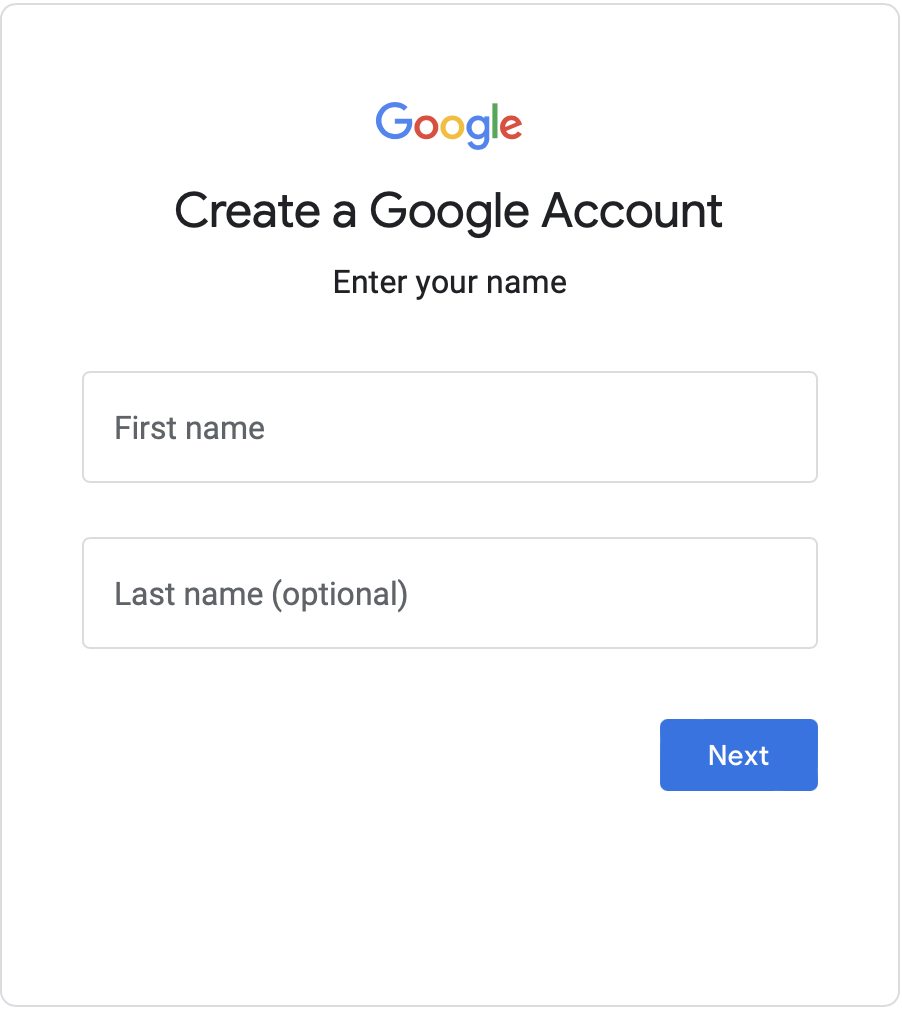
2. Sign In to your Google Business
After logging in to a Google Account, head over to the Google My Business account creation.
Add your first name, your last name is optional (as seen above).
This will start the next steps of creating a new Google My Business profile.
3. Enter the Name Of your Business
Now that you have your account, you can begin building your Business Profile.
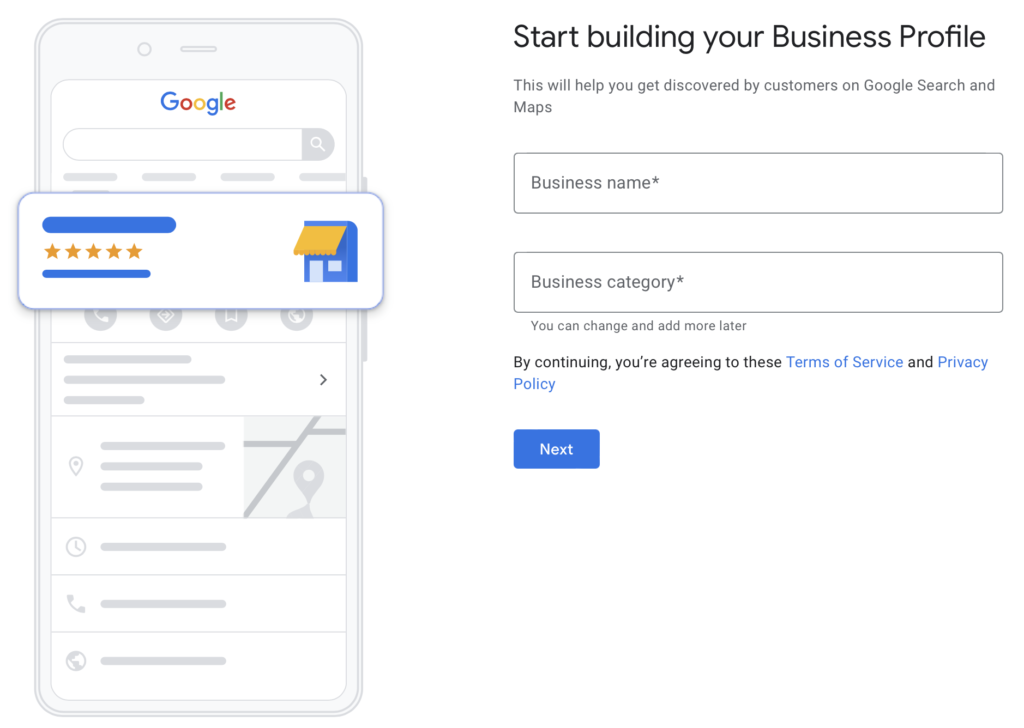
Here you’ll add your Business Name and Business Category.
For your Google Business Name, you want to make sure you use your official business name.
4. Choose your Primary Google Business Category
Your Google Business category is very important, so make sure you choose the business category that matches exactly what it is you do.
Some of you may find that your identical business category is not available. In such as scenario, you need to choose a category that would be the closest fit possible.
You will have the option to change Business Categories later if needed.
5. Add your Business Address
If your business has a physical location where customers can visit, choose the appropriate option.
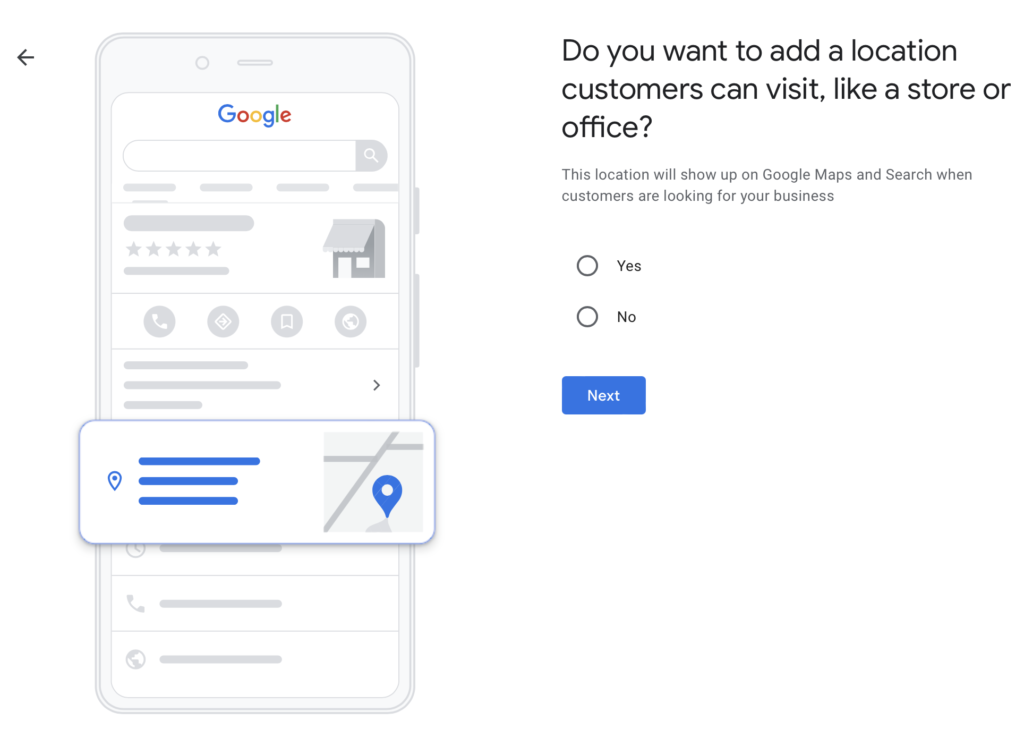
Select Yes if customers are able to visit your physical address. If there isn’t a physical location where customers can visit, select No.
Afterwards, just enter the business’s address.
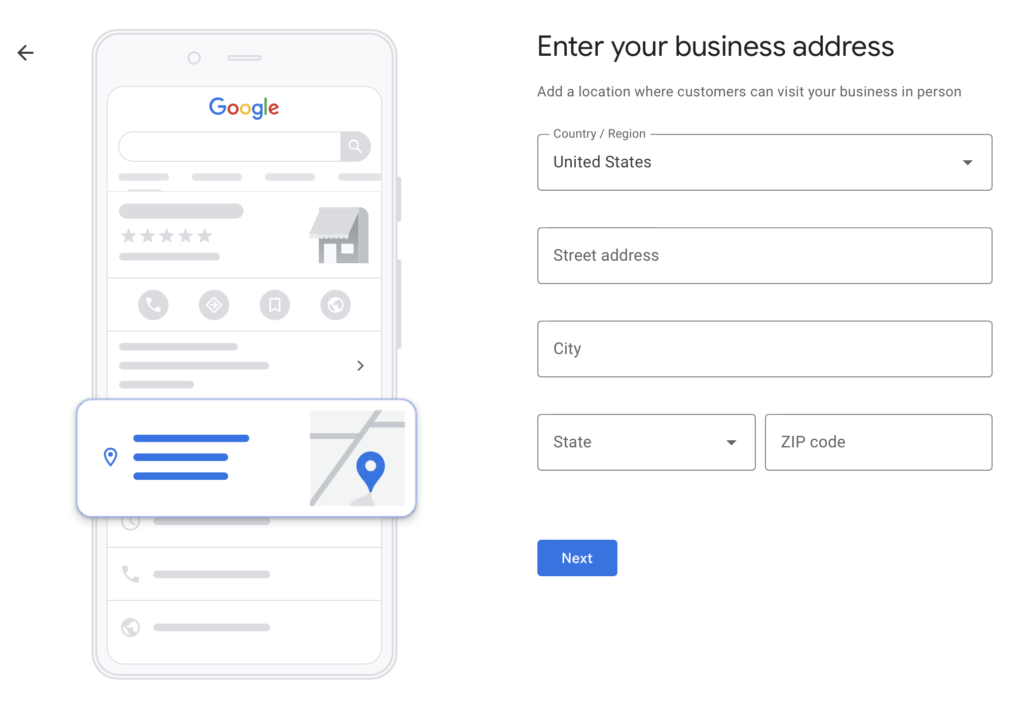
If you select No for the option above, this is commonly referred to as service area businesses (also called SABs), meaning that the business delivers goods and services to customers. If you choose this option, your address will be hidden in search. Instead, Google will show a service area on your listing based on the localities that you’ve selected as service areas.
6. Add Your Website And Phone Number
You’ll have the opportunity to add your Phone Number and Website URL also.
7. Add Your Service Areas
Next, you’ll need to select your service areas, this will increase your relevancy in Google, so you want to be as specific as you can here so that your Google My Business Listing is optimized.
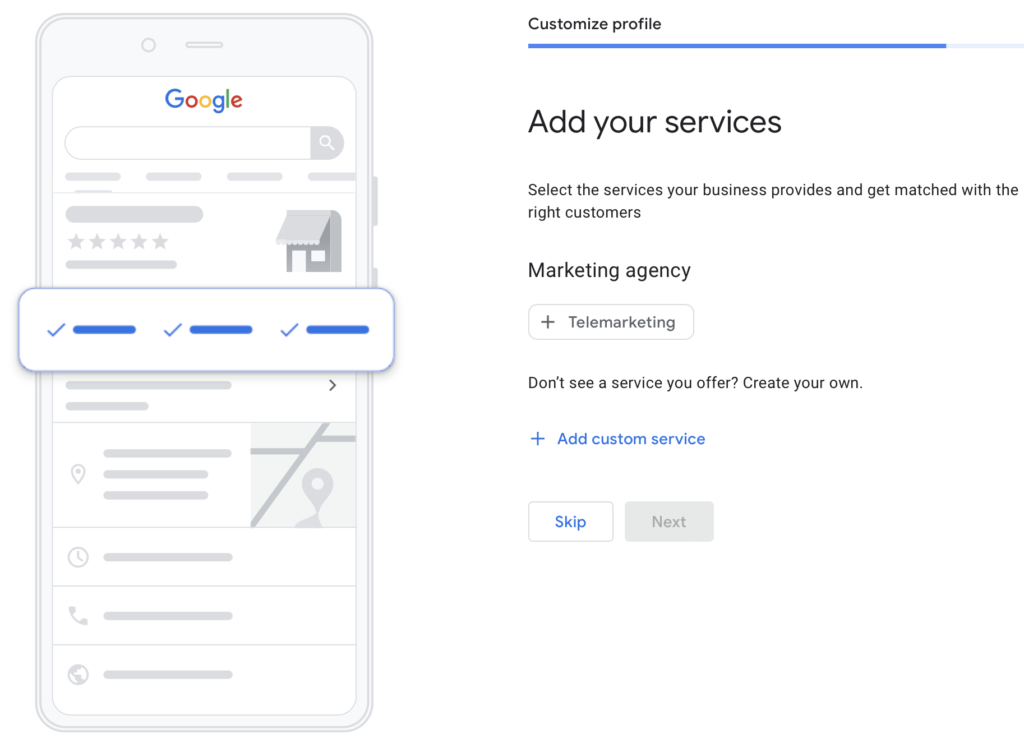
Here, you’re going to get the opportunity to Add Your Services.
While you couldn’t add a Custom Service earlier, you now have the opportunity to add your own services.
Be sure to list every service that you offer to customers, this will optimize your Google My Business listing and it lets potential customers know everything you offer.
8. Add your Business Hours
In this section, you can add your Business Hours to your Google profile.
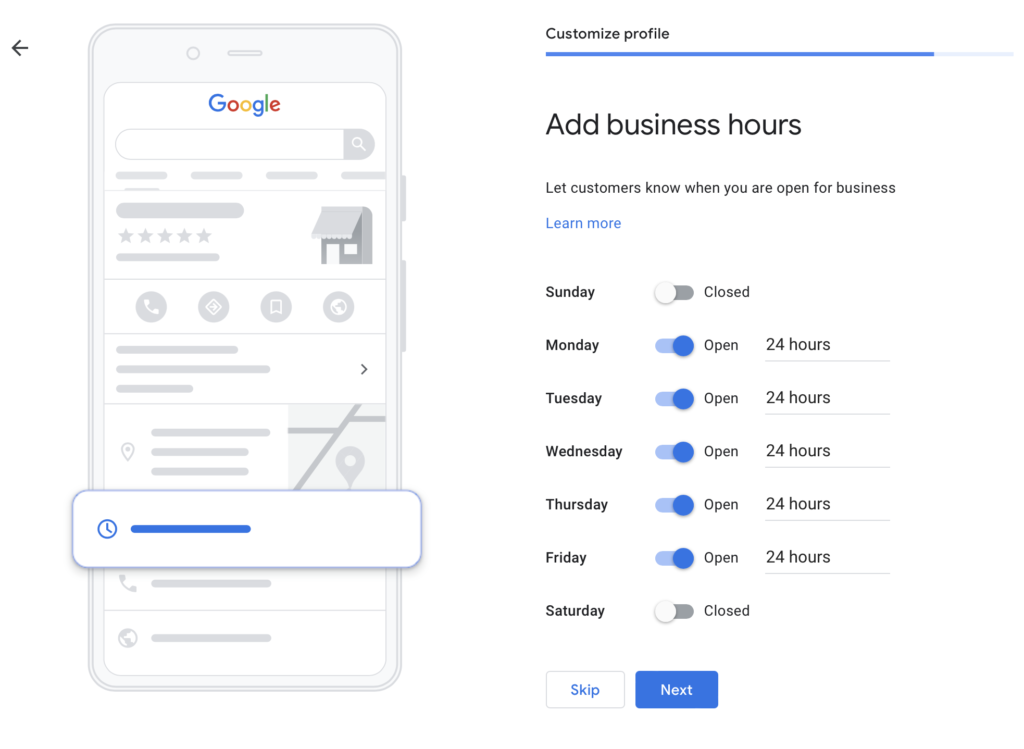
If you’re open 24 hours a day, be sure to select the 24 Hours option.
If you open and close at a specific time on specific days, you can enter those for each day.
Make sure your hours are accurate, if a user is searching for a service and you’re not open during that time, your Google Listing is less likely to show.
9. Allow Customers to Message You
We recommend enabling this option and allowing customers to message you through your Google Business. Make sure Accept Messages is checked and then click Next.
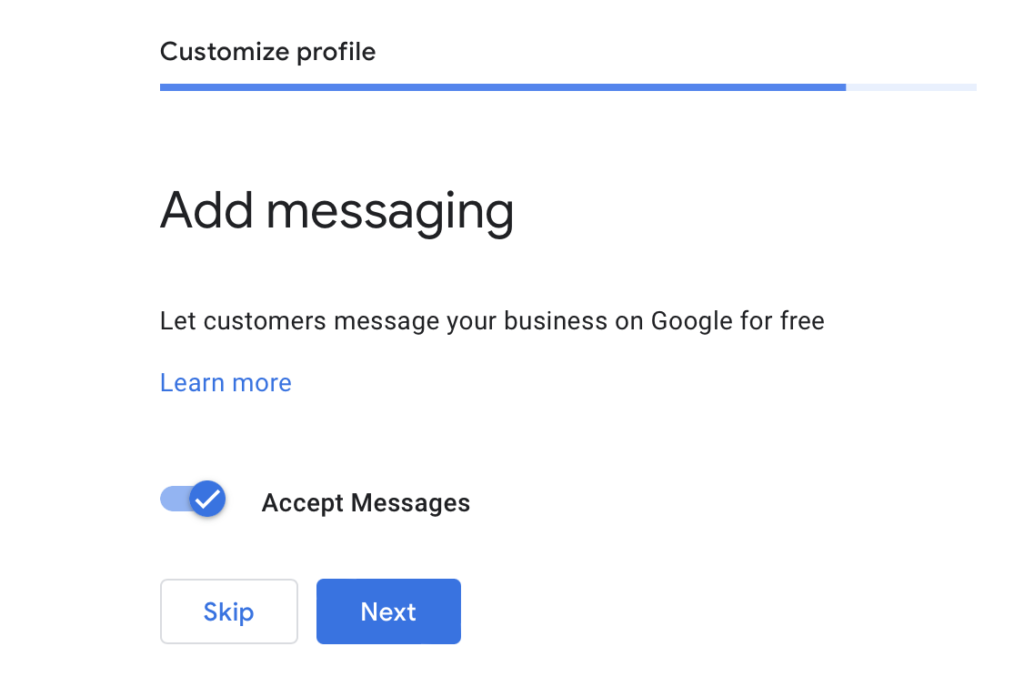
Google does not charge for this and you can get notifications via email when a new customer messages you through Google.
10. Add your Business Description
Your Business Description should be detailed and include keywords that you want to show up for.
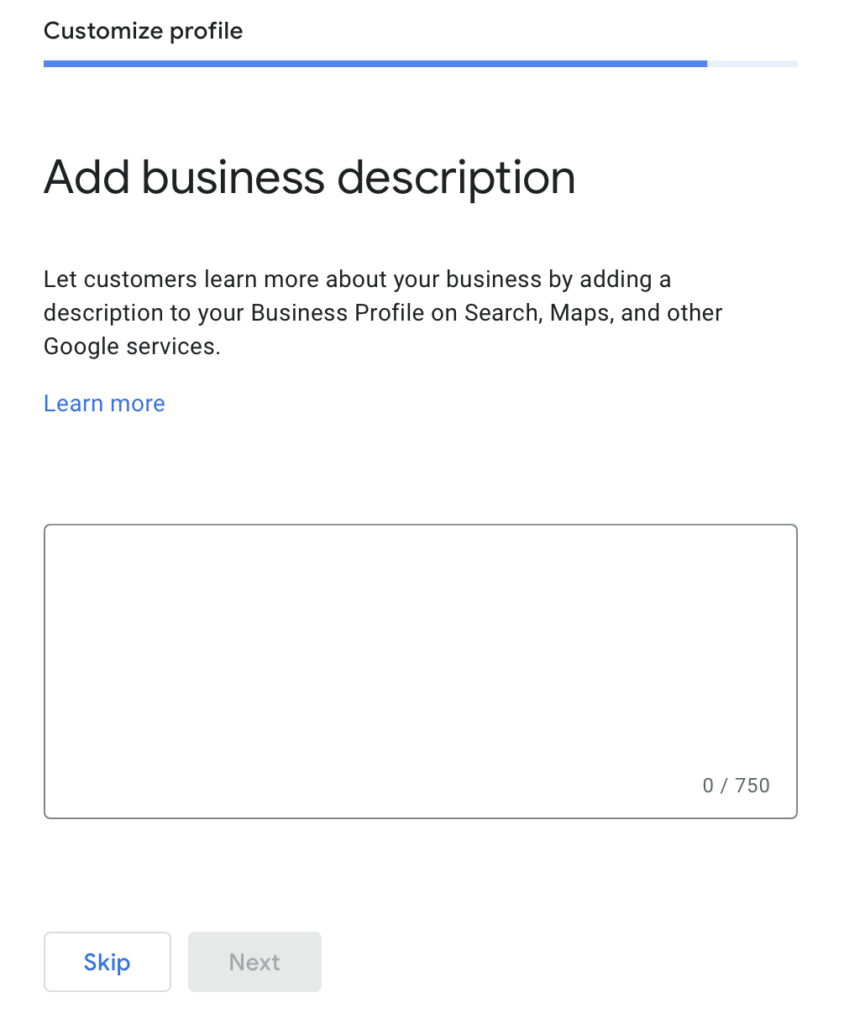
To optimize your Google profile, you should include the services you offer within your business description. Google gives you 750 characters to use.
11. Add your Photos
For some companies, photos can play a big role in whether a customer chooses your business or not.

This is your chance to showcase your products and services on your profile, so make sure you get images added.
12. Verify your Google My Business
Lastly, before your business is shown on Google, you’ll need to verify your account.
Google will send you a postcard to verify your business address, you should receive that in the next 5 business days.
Once that is verified, your business will be listed in Google searches.